There’s nothing worse than bounding out to the shed on the morning of a ride to find your bike won’t start because it’s got a flat battery. But with a bit of mindfulness and preventative maintenance, you can reduce the risk of being let down and increase the effectiveness and longevity of your bike’s battery at the same time. A good thing, too, cos they’re not cheap! There are plenty of things which will effect the life and reliability of you motorcycle’s battery; things like ambient temperature, how regularly you ride your bike, what accessories you’re asking your battery to power, even vibrations caused through general use can adversely effect the battery. A little bit of know-how and a few simple steps will mean you and your bike can get the best from your battery.
Types and tasks
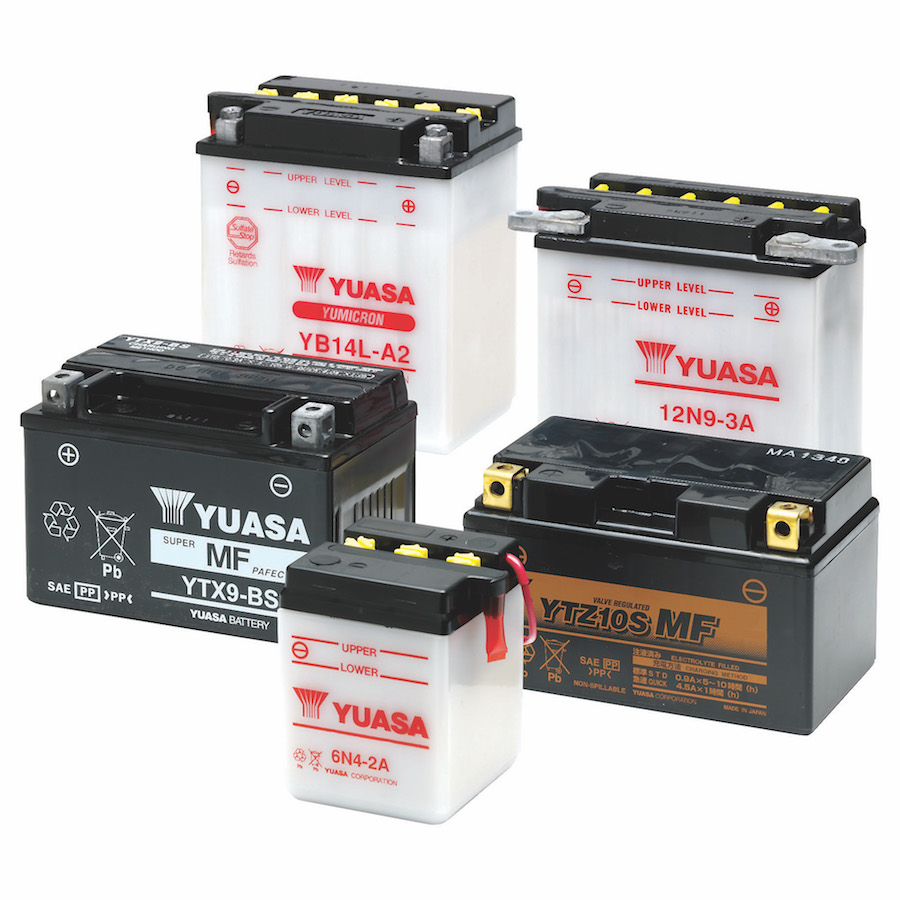
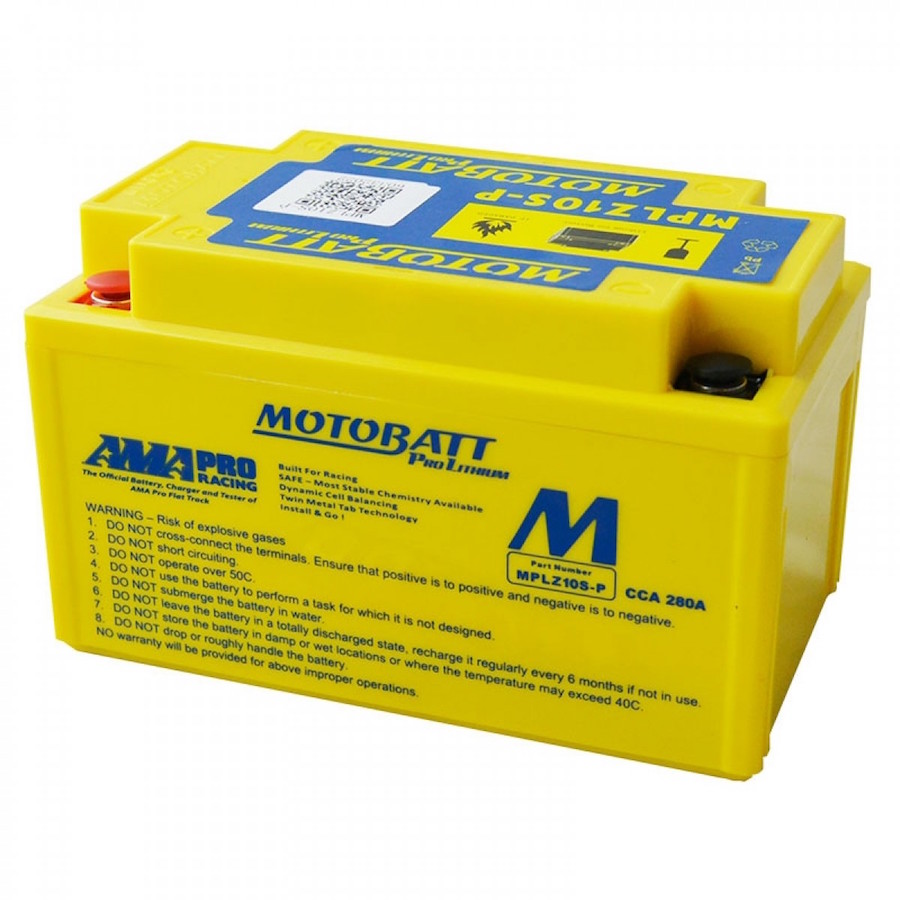
Depending on the age and origin of your motorcycle, there are two types of batteries the majority of motorcycles will use, both of which will need to be maintained slightly differently. The most common type of battery used these days is a fully-sealed lithium type, whereas older motorcycles will generally use a wet acid type battery which is filled with a mix of distilled water and sulphuric acid. Both produce electrical energy as a result of a chemical reaction.
Because your motorcycle has its own charging system, the primary job of the battery is the get the motorcycle started. Once you switch the ignition to on, the battery sends power to the ignition and, where applicable, the fuel-injection system before its biggest task of spinning the starter motor is asked of it when you thumb the bike’s starter motor.
Maintenance
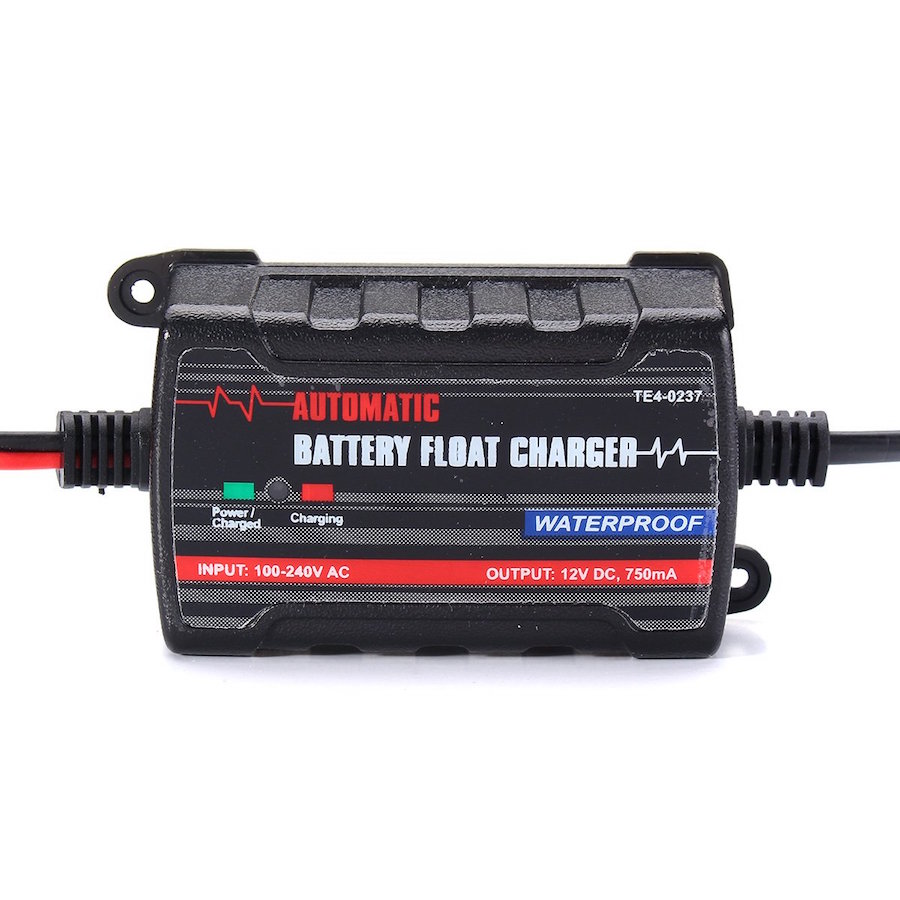
The charge of a motorcycle battery is achieved and maintained three ways. Firstly, through your bike’s charging system which is made up of an alternator (which produces an alternating current) and rectifier-regulator (which rectifies the current so it can be stored in the battery), and this is achieved when the bike is ridden regularly and for decent periods of time. If you find you’re not riding your bike regularly, it’s a good idea to invest in a ‘smart’ trickle charger. Prices start from around $45 (and rise into the several hundreds) and, once connected, will continuously test the battery’s level of charge, and automatically switch between ‘float’ and ‘charge’ mode to ensure the voltage is always at its optimum level. And once a battery gets below a certain charge, it will need to be charged via a bench charger, most of which can be set to a slow or fast charge and can cover both six- and 12-volt systems. A lot of bikes boast an in-dash voltage metre, and the charge should read somewhere around 12.6 volts, or slightly higher, at idle.
While sealed batteries are exactly what their name suggests, wet acid batteries will need to have their fluid levels checked regularly and topped up with distilled or demineralised water if and when required. Because the water is what is evaporating through the battery’s vents, and not the acid, you’ll never need to add acid to your wet-cell battery. And regardless of which type of battery your motorcycle uses, it’s also important to keep the terminals clean of corrosion (a wire brush is good for this) and their connections tight.
Replacement
Like all consumables, batteries have a life span. Depending on your bike and how it’s maintained, you could expect anywhere between two and five years from a motorcycle battery before you’ll need to replace it. More often than not, batteries are located under the seat, but it’s not a bad idea to refer to your specific bike’s service manual to ensure there aren’t any tips or tricks specific to your motorcycle. Despite looking relatively innocuous, batteries actually give off small amounts of explosive hydrogen gas, so it’s a good idea to don some safety glasses while dealing with them.
Always remove the negative (black) terminal first – the battery is ‘grounded’ to the frame via the negative terminal, so if you were to disconnect the positive (red) terminal first and accidentally touch the frame with the spanner while it’s on the positive terminal, you’d create a circuit and cause a short (and probably sparks). Once the negative terminal is disconnected and the cable is well out of the way, you can disconnect the positive terminal and remove the battery.
Some battery boxes will have padding around the battery to prevent it from excess vibrations, so while the battery’s out make sure that’s in order. And battery boxes, again depending on the age and design of your motorcycle, tend to be susceptible to rust, so it might be a good idea to give the box a light spray of silicone while the battery’s out.
Once you’ve got your new replacement battery, follow the instructions to get it to a point where it’s ready to install in your bike (this could mean filling it with an electrolyte solution if it’s a wet-acid type, or charging it, or both), and ensure your cables and terminals are clean. It might be a good idea to fit a trickle charger harness to your terminals at this point; this will give you simple plug-in access to your charger and will mean you won’t have to remove your seat each time you want to connect your battery to the charger.
When reconnecting the battery, you need to reverse the above steps and always connect the positive terminal first, followed by the negative terminal. Make sure your connections are clean and tight and the protective terminal caps are installed properly before replacing the seat. If you opted to fit a harness, mount the charging plug somewhere that’s easy to reach, easy on the eye and out of the way of any moving parts.
Words & photography Kellie Buckley